


Nothing spells comfort quite like a warm, cozy home during the chilliest of winters. While having a functional heater is a non-negotiable necessity in these conditions, installing a new one might seem daunting to many homeowners. But fear not! This comprehensive guide aims to ease your concerns and equip you with the knowledge necessary to handle a new heater installation in your home.
Types of Heaters
There are various types of heaters available in the market, each with its own set of advantages and disadvantages. Some popular options include:
- Furnaces: These utilize gas or electricity to heat air and distribute it throughout the home via ducts.
- Heat pumps: These use electricity to transfer heat from one location to another, making them more energy-efficient.
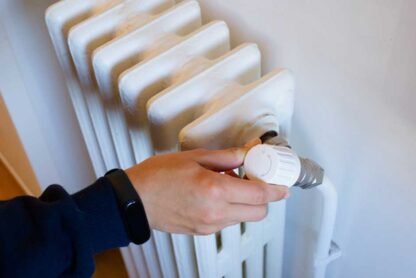
- Boilers: These use gas, oil, or electricity to heat water and distribute it through radiators or in-floor pipes.
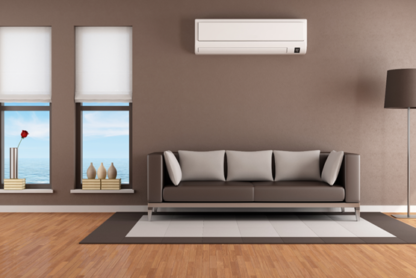
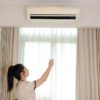
- Ductless mini-split systems: These consist of an outdoor unit connected to multiple indoor units, allowing for zoned heating.
The type of heater you choose will depend on your budget, fuel availability, climate, and the size and layout of your home. It is important to evaluate all options and consult a professional before making a decision.
DIY vs Professional Installation
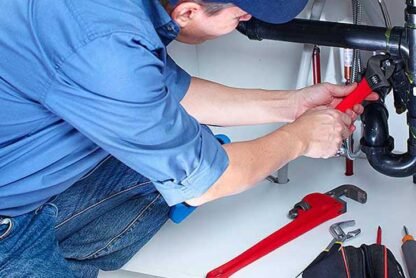
Installing a new heater is not an easy task and requires technical know-how, so it’s always advisable to hire a professional HVAC technician for the job. However, you can opt for a DIY approach if you are confident in your abilities and have experience with such projects. Just do thorough research, follow safety precautions, and obtain necessary permits before proceeding.
Steps to Install a New Heater
- Choose the Right Location: The location of your heater is crucial for optimal performance and safety. It should be installed in an area with good ventilation and ample space around it for maintenance purposes.
- Gather Tools and Materials: You will need various tools and materials such as a drill, screws, duct tape, pipe wrenches, and the heater unit itself. Refer to the manufacturer’s instructions for a comprehensive list.
- Clear Out the Area: Remove any obstacles or debris from the designated installation area.
- Install Ventilation System: If your heater requires ventilation, install the pipes or ducts according to manufacturer guidelines.
- Connect Fuel Supply: For gas or oil heaters, connect the fuel supply line using proper fittings and ensure it is securely attached.
- Position Heater Unit: Carefully position the heater unit in place and secure it with screws or brackets.
- Connect Ductwork: If your heater utilizes ducts, carefully connect the ductwork to the unit and seal any gaps with duct tape.
- Connect Thermostat: Install and wire the thermostat according to manufacturer instructions.
- Test the System: Before fully completing the installation, test the system to ensure everything is working properly.
- Obtain Necessary Permits: Ensure you obtain permits before using your new heater.
Maintaining your Heater
Regular maintenance is key to keeping your heater functioning efficiently and prolonging its lifespan. Follow these tips:
- Change air filters regularly according to manufacturer recommendations.
- Keep the area around the heater clean and clutter-free for proper ventilation.
- Schedule yearly professional maintenance checks to detect any issues early on.
Don’t hesitate to replace your inefficient heater and enjoy the comfort of a new one today. Remember to always consult with professionals and prioritize safety when undertaking such projects. Get in touch with a pro today!